Quick Guide for EdrawMind
Looking for some help? Here you can get quick answers and step-by-step instructions on how to use EdrawMind.
EdrawMind Guide
-
Get Started with EdrawMind
-
Quick Using EdrawMind
-
Learn to Use Topics
-
Insert/Add Elements
-
Theme and Style
-
AI & OCR
-
Presentation
-
Advanced Features
-
View Mind Map
-
Shortcut Keys
-
Andriod App Guide
-
iOS APP Guide
-
Online Collaboration
-
Video Tutorial
Insert Illustrations
Insert Marks
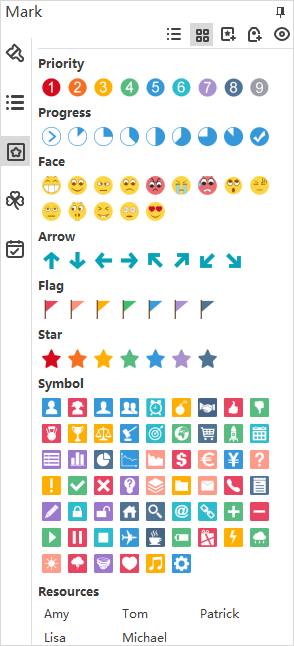
Marks are used to avoiding monotony in the content and display key points in the mind map. You can add marks from the pre-defined mark groups and create your own mark group.
To insert a mark, select the topic, then
- Press F9;
- Go to Home tab > Mark;
- Right-click and choose Mark on the context menu;
- Click Mark icon
 on the right sidebar to open the Mark pane.
Click any mark on Mark menu/pane to add it into the selected topic. After that, you can select the mark and switch it into another mark from the same group.
Only one mark from a group can be added on a topic, but multiple marks from different groups can be added on the same topic.
Click  on Mark pane to hide unused marks and only show frequently-used marks.
The default view for marks is the icon tile view. If you intend to turn into the icon list view, you can click the button ![]() .
.

To add a new mark group, you can
- Click Mark Manager button
 on the top of the Mark pane.
 - Click Add group and rename it.
- Tick Mutex if the content of this group is mutually exclusive.
- Click Add marks to insert marks from local storage to your group.
- Click Delete mark if you want to remove a mark from the group.
Insert Clipart
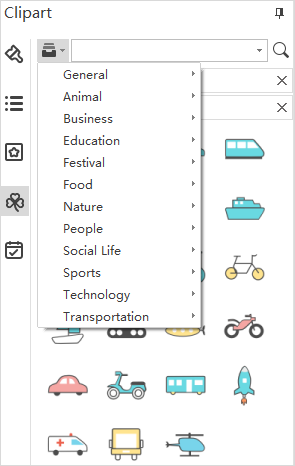
EdrawMind offers a library of clipart for users. To insert clipart, select the topic, then
- Press Ctrl + Shift + I;
- Go to Home tab > Clipart;
- Right-click and choose Clipart on the context menu;
- Click Clipart icon on the right sidebar to open the Clipart pane.
Double-click on a clipart to add it into the selected topic; or drag and drop a clipart to the topic. In addition, you can also insert clipart into the canvas directly.
All the clipart is added as images, so you can change the style of clipart with the image formatting tools in EdrawMind.

Insert Pictures
EdrawMind allows you to insert pictures into topics. It supports extensive picture formats like GIF, JPG, JPEG, PNG, ICO, BMP, TIF, etc.
To insert a picture, you can
- Go to Home tab > Picture;
- Press Ctrl + Shift + P;
- Right-click and choose Picture on the context menu;
Choose a picture from your device, click Open, and your image will be inserted into the topic. By default, the picture will be added on the left of text. You can drag the picture to change its position.
If you haven’t selected any topic, the picture will be added into a floating topic.

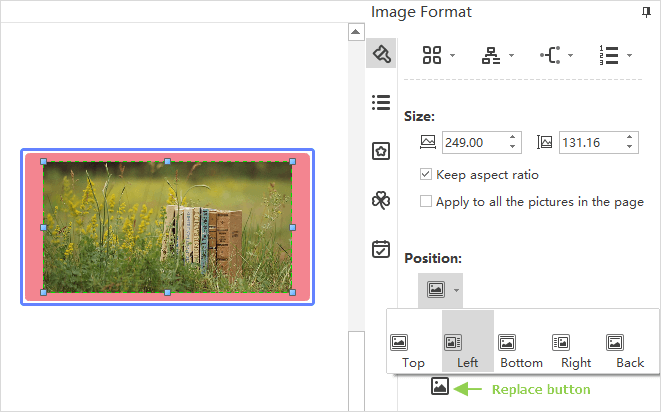
Select the picture that is on the topic, you can drag the blue handles to adjust the size. Alternatively, you will see the Image Format pane comes out on the right side of the canvas.
You can adjust the picture size by inputting the specific numbers, change the position of the image, and replace the image with another one.


