How to Make a Concept Map in Word
It's assessed that 75 percent of students study better with visual cues. That abandons saying that it is frequently simpler to clarify confounded concepts with visual guides than text. That is the place where a concept map becomes possibly the most critical factor. During an introduction, you have that much an ideal opportunity to catch and keep up your crowd's consideration, and confounded thoughts can be challenging to clarify. Concept maps help to envision data, which makes it simple to burn-through. In basic terms, concept maps are graphs that depict the connection between different thoughts.
If you've ever perused a reading material, you've most likely seen a concept map. Concept maps are utilized to coordinate data outwardly, regularly to expand understudy understanding. Also, similarly, as concept maps help understudies process and see novel thoughts, they can help your collaborators do likewise. Use them at work in your Word introductions to build intrigue and convey your idea about how to make a concept map in Word.
How to Make a Concept Map in Word
MS Word is a universal software and also works as a free concept map maker. You can make a concept map or create a mind map in Word in just a few easy steps.
There are two ways to make concept map word:
- using basic shapes
- using SmartArt graphics
Learn how to make a concept map in Word using both the methods mentioned above by following our step by step instructional tutorial below.
Step 1 – Open Word
Open MS Word on your desktop and select a blank page. To create a concept map word, you can either use the basic shapes or select the SmartArt Graphics option. Similarly, you can also create a mind map in Word.
Step 2 – Draw the Map
Before you begin laying out your concept map, you need to have the central concept in mind. Identify the key elements of your concept map and how they relate to each other.
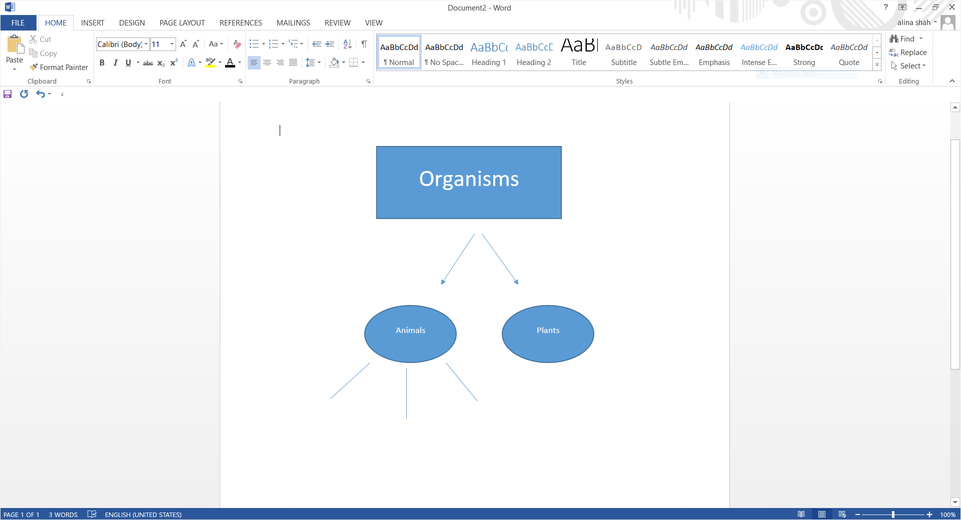
Now, go to the Insert tab and click on the drop-down arrow under Shapes; you will find several different shapes like rectangles, basic shapes, lines, block arrows, equation shapes, flow chart, etc.
Select the desired shapes to show as your main heading and put it on your page. Similarly, keep selecting and arranging different shapes to draw a map. Remember, a concept map is depicted in a hierarchy, so you can begin from the top and branch out your main idea into different sub-topics. Use lines to illustrate the relations and finally add text on the cross-links to demonstrate the type of relationship.
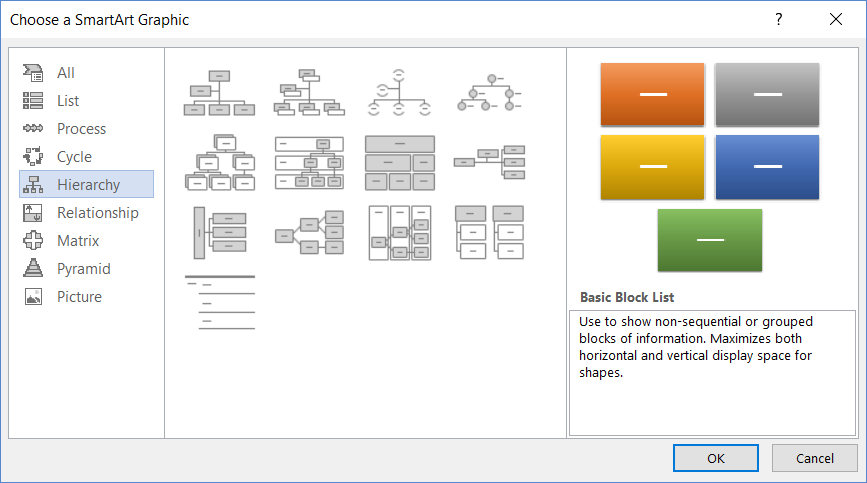
You can also use the SmartArt graphics given in the Insert tab. Click on the icon and wait for the pop-up window. Different types of charts will appear for you to choose. Click on Hierarchy, select a chart type, and click on OK to insert the map on your page.
Step 3 – Edit and Customize
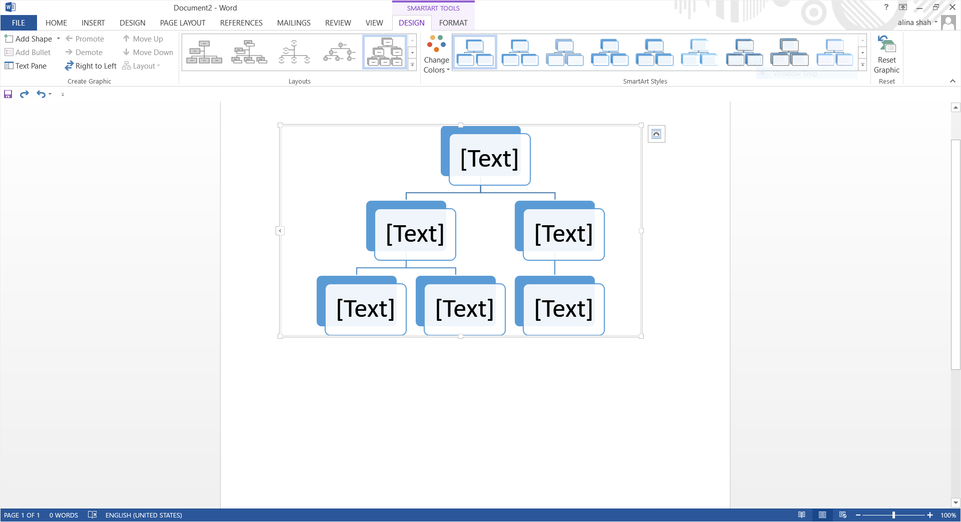
MS Word has many formatting options to edit and customize the concept map. Keep revising the elements and cross-links until you are delighted.
Step 4 – Save File
Once you have finished designing your concept map, click on File and Save to save your document.
How to Make a Concept Map in EdrawMind
EdrawMind is another free concept map maker that can be used both online and on desktop. To learn how to make a concept map in EdrawMind, follow these instructions:
Step 1 – Launch EdrawMind
As stated earlier, you can use either EdrawMind online app or the desktop software. Both are free to use. For this tutorial, we will use EdrawMind online. Launch the app on your browser
Step 2 – Select Radial Map
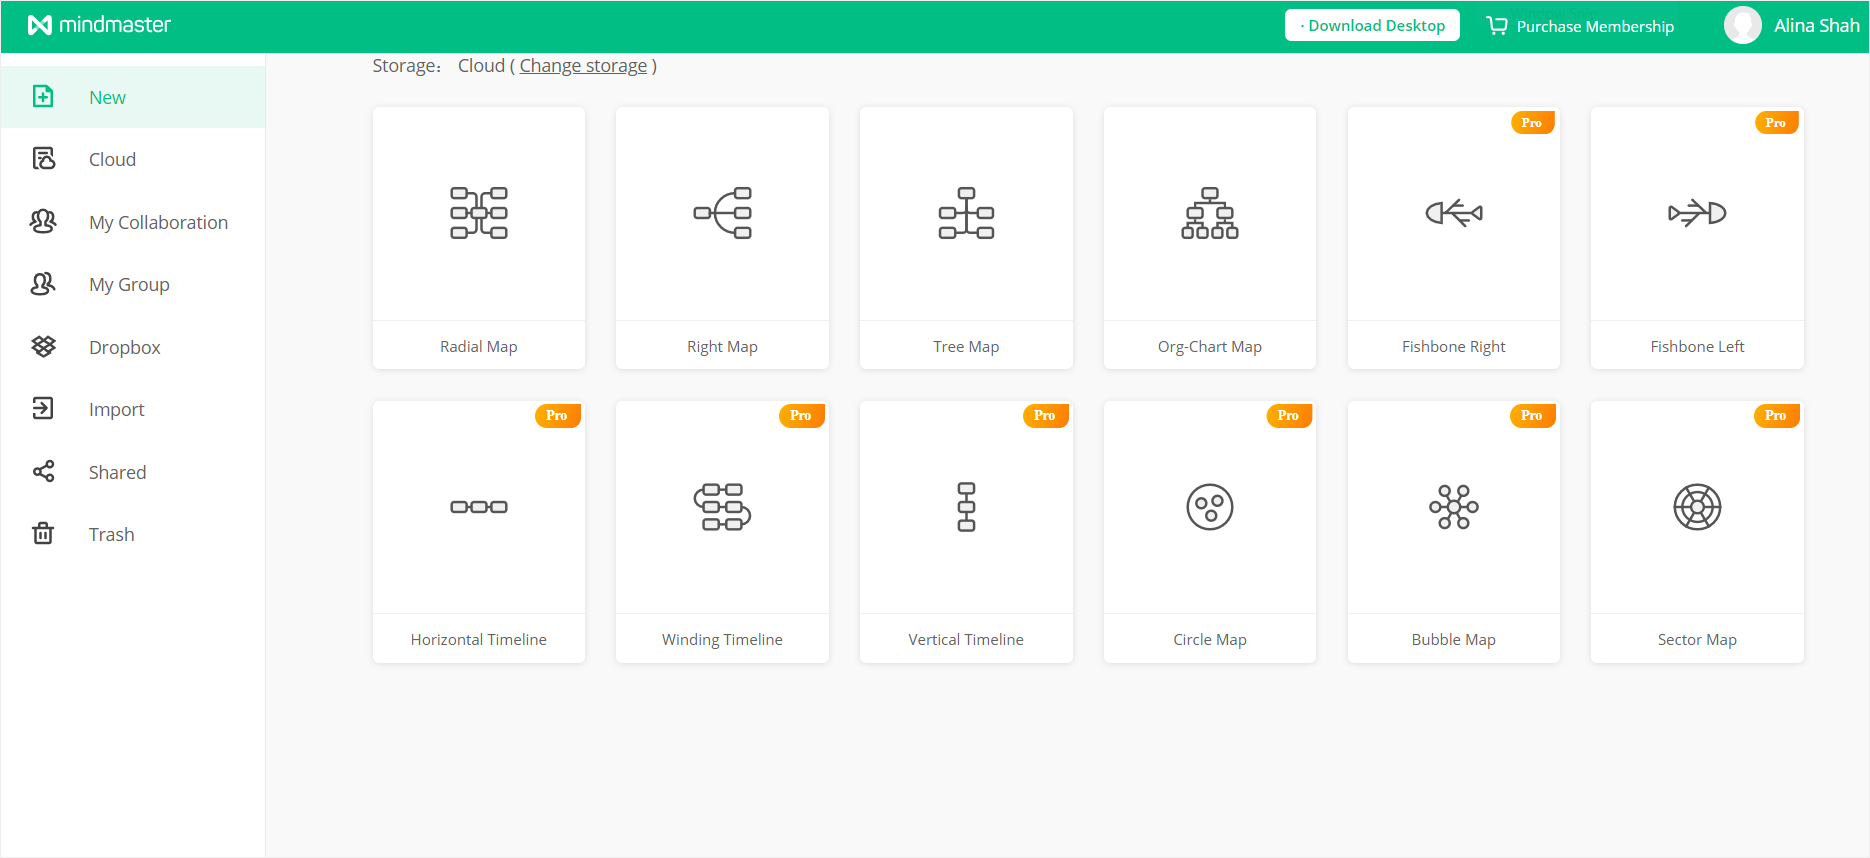
To draw a concept map on EdrawMind, you can start by using the Radial Map template under the New tab.
Step 3 – Insert Topics and Sub-Topics
The Radial Map will automatically open in a new window. Select the tools on the top left of the window to Insert Topic, insert sub-topics, insert relations, etc. Use these tools to draft a concept map using shapes, floating lines, and text.
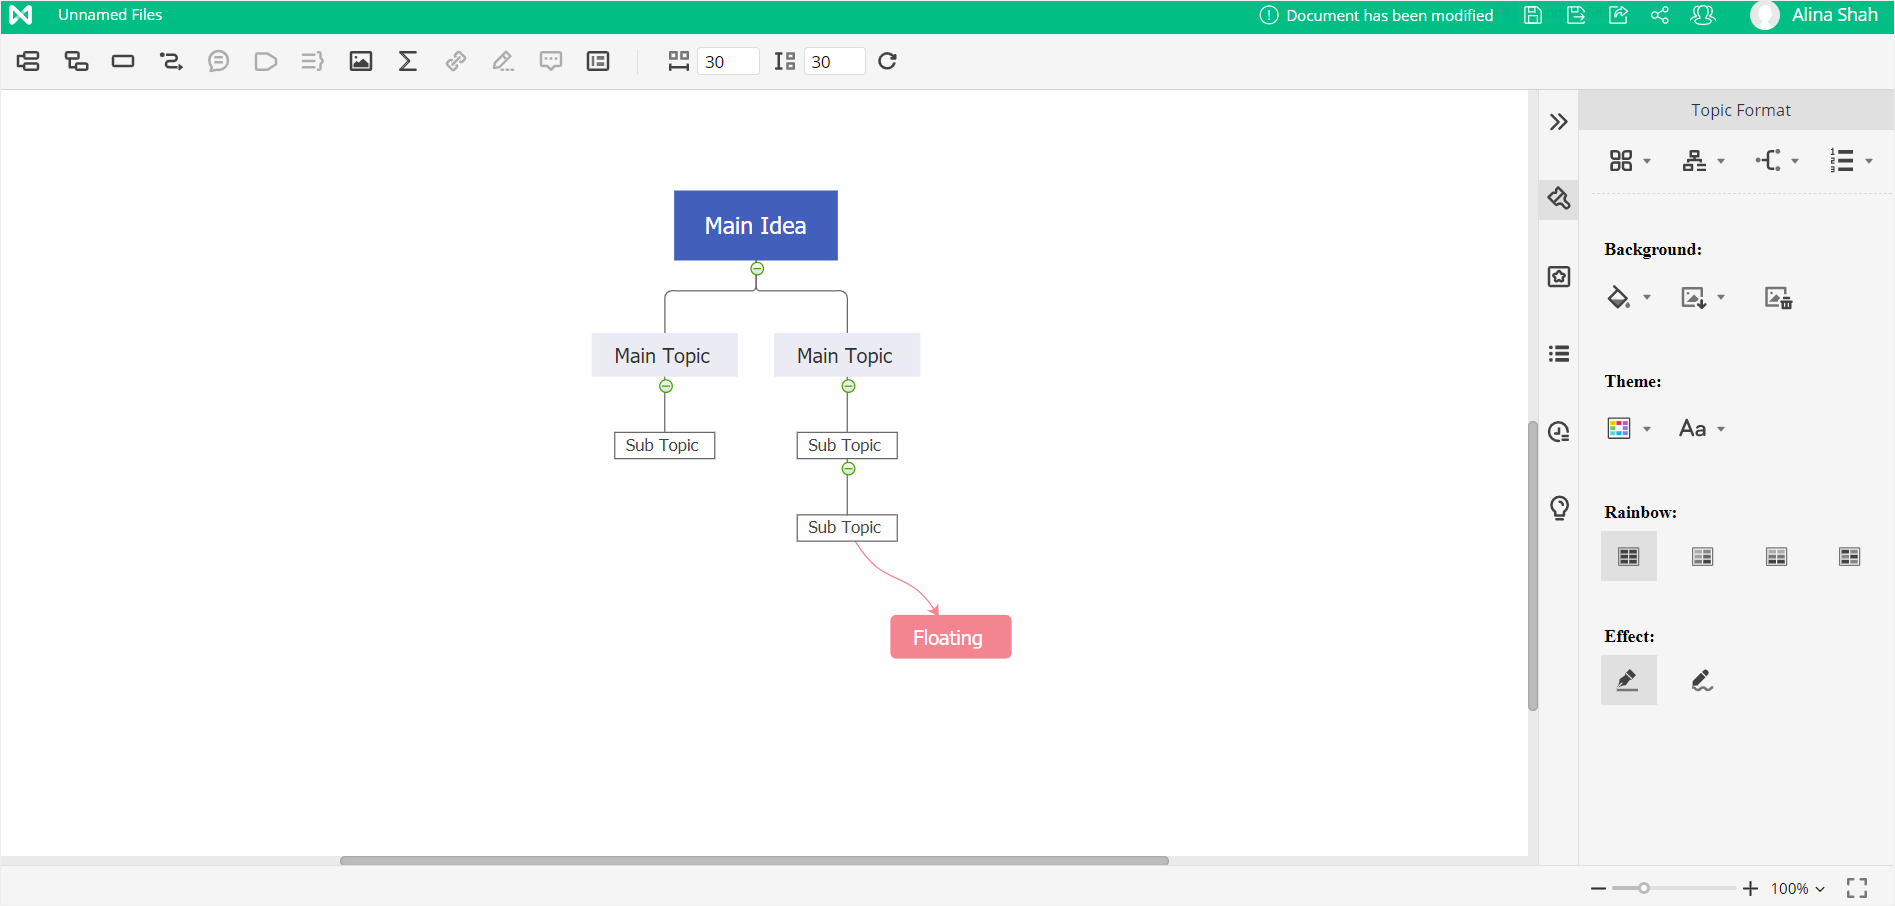
Step 4 – Revisions and Edits
Once you have drawn the concept map, go through it thoroughly and make sure everything is laid out correctly. You can keep changing and formatting with the help of the Format tab on the right side of the screen. Once all the revisions are done, customize your concept map by changing color, font, style, etc. Once the concept map is complete, save your file as PDF, PNG, JPEG, etc. Click the Save As icon on the top left side, near your username. Choose your destination and save your file!
Uses of Concept Maps
Concept Maps make it easy to display and explain complex topics, ideas, or problems in an organized manner. Hence, they are widely used in fields such as engineering, architecture, education, and technical writing. The most common uses of concept maps are:
- Education – Concept maps are used for educational purposes to help explain a complex and lengthy topic in detail while keeping it concise and straightforward. You will commonly see concept maps in academic books to help students easily understand relationships within a concept or idea. Hence, concept maps are an excellent tool for visual learning.
- Engineering – Concept maps are used in engineering designs and learning. They are commonly found in mechanical engineering. The role of a concept map is to express concepts systemically and illustrate relationships and crosslinks between different sub-concepts within a wise category. Therefore, they are quite useful in engineering to understand structures.
- Technical Writing – Concept maps help save time in technical writing. It is easy to gather, summarize, and display technical information in the form of a concept map. Technical concepts and relations are efficiently displayed and explained using concept maps. Hence, they can be used to easily display lengthy thoughts quickly, saving the writer tons of time and effort.

